Designing a Telescope Adaptor Before the Planets Align
Following summer’s surprise appearance of Comet NEOWISE, winter of 2020 held another rare astronomical event: the conjunction of Jupiter and Saturn. The two closest gas giants have a conjunction from Earth’s perspective every two decades or so, named a “great conjunction” for its intensity and rarity. Johannes Kepler theorized that this conjunction may have been the Star of Bethlehem from Christian theology, as a great conjunction did occur around 6 AD. What made this particular great conjunction of 2020 notable was the fact that it was the closest the two planets had come in the sky since 1623, and they would not again come so close until 2080.
Having unfortunately failed to get a good picture of Comet NEOWISE through my telescope, I wanted to be able to capture the conjunction in full glory given the tools available to me. It’s largely accepted that planetary astrophotography doesn’t require fancy dedicated hardware like imaging deep sky objects often does, so in theory the camera on my smartphone would be sufficient to get decent images of the conjunction, provided I could find a way to attach it to my scope.
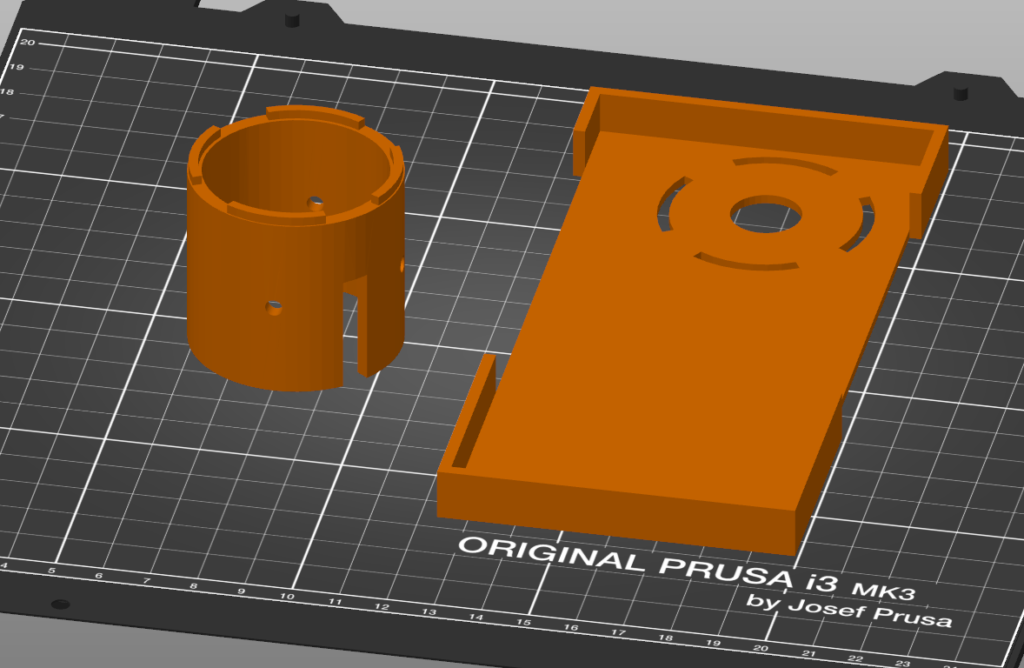
Luckily for me, my only major purchase to date using the income from my quarantine job had been a 3D printer, which would be perfectly suited to produce such a device on short order. Two days before the planets’ closest approach, I started modeling my adaptor in Solidworks. The basic design was somewhat simple: a cylinder with screw holes to secure it to the scope’s eyepiece holder attached to a press fit case engineered to fit my specific phone model. Originally, I tried to print this as as single object, although I couldn’t find a configuration that would allow the printer to complete the print without failing due to the lack of a solid flat surface on any side. Instead, I decided to split the case and cylinder into two different parts and bond them with epoxy. Here is the view of the parts in the slicer:

After adding a raft to fix some issues with the cylinder failing due to a lack of bed adhesion, both parts finished printing a few hours before the conjunction was due to be visible. After joining them with some epoxy, I set the assembly next to a fan at full blast to speed up the drying process. While it wouldn’t be fully cured for 24 hours, 2 hours of drying gave me enough bonding strength to use the adaptor without trouble. Testing the fitment, my phone fit snugly in the case which in turn sat firmly on the eyepiece channel (shown here without the phone as it was used to take the pictures):
After the sun went down and Jupiter and Saturn began to rise above the roof of my house, I went out and attempted to snap my first photos with it. Because I didn’t quite have my phone’s camera settings dialed in on the night of closest approach, the images weren’t as crisp as I would have liked, but I was able to successfully capture some, including a test photo of the moon:
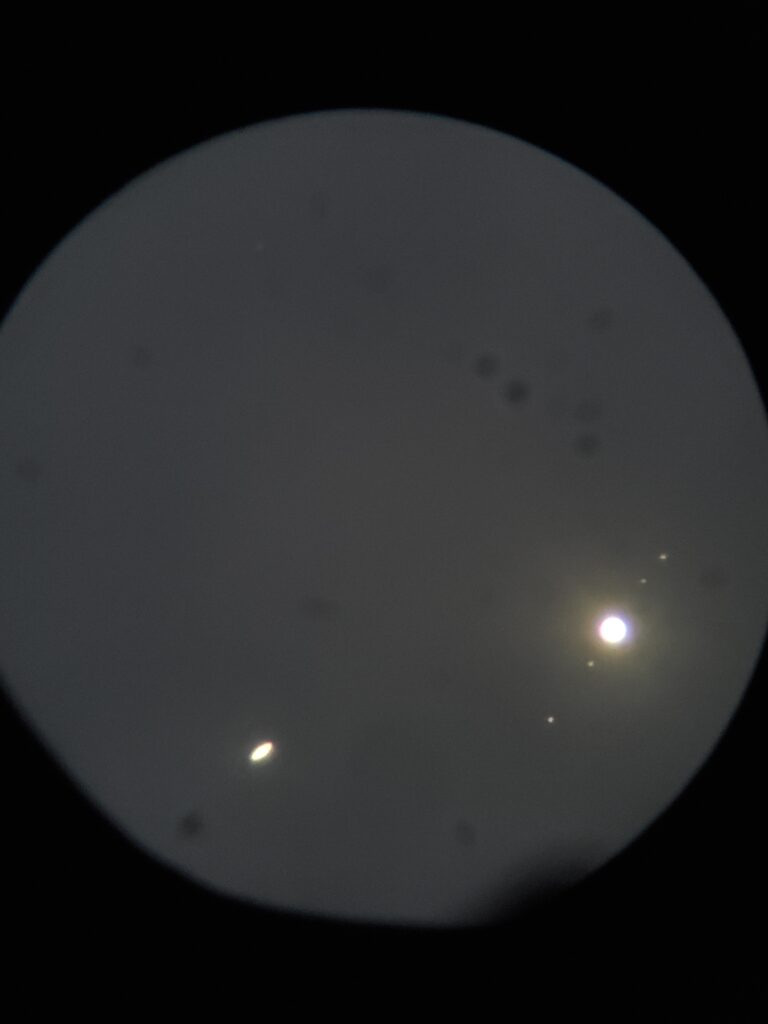
The second night of observations was more fruitful, even despite the fact that the planets were farther apart in the sky. This particular image is my favorite as you can clearly see both Saturn’s rings and the Galilean moons. It’s far from the most impressive shot out there, but I think it’s not bad for a low end telescope and a 3D printed phone mount:


